Spring Security 시작
| Java | 21 |
| Spring Boot | 3.4.3 |
| Spring Security | 6.4.3 |
Spring Security
Spring Security는 인증과 인가 등의 보안 기능을 제공하는 프레임워크다.
내가 대학교 다니던 시절 PHP로 처음 웹을 개발했었는데, 당시에는 그냥 내가 생으로 다 구현했었다.(정보보안학과니까!) 패스워드는 해싱하고, 그냥 해싱하면 또 취약하니 솔트 치고 등등… 이 과정이 상당히 귀찮기도 하고, 실수가 발생하면 그대로 보안 취약점이 발생하기 때문에 이런 프레임워크를 제공하는 것은 좋은 것 같다.
다만 귀찮은 과정을 날로 먹다 보니 상당히 난해한 감이 있는 것 같다. 한 달 뒤에 다시 보면 까먹는 수준… 공식 문서조차 그다지 친절하지는 않은 것 같아서 적당히 정리하고 나중에 시간을 단축해야겠다.
Dependency
build.gradle에 의존성을 추가해준다.
1
2
3
4
5
dependencies {
    // ...
	implementation 'org.springframework.boot:spring-boot-starter-security:3.4.3'
    // ...
}
의존성을 추가한 후에 프로젝트를 구동하면 Security가 Username / Password 방식으로 동작하여 곧바로 모든 요청이 잠긴다.
프로젝트 로그를 확인하여 초기 패스워드를 알 수 있다.
1
2
3
4
5
2025-02-21T11:07:59.438+09:00  WARN 10728 --- [main] [           main] .s.s.UserDetailsServiceAutoConfiguration :

Using generated security password: abde02ff-a737-47a0-8842-0b64a5341e54

This generated password is for development use only. Your security configuration must be updated before running your application in production.
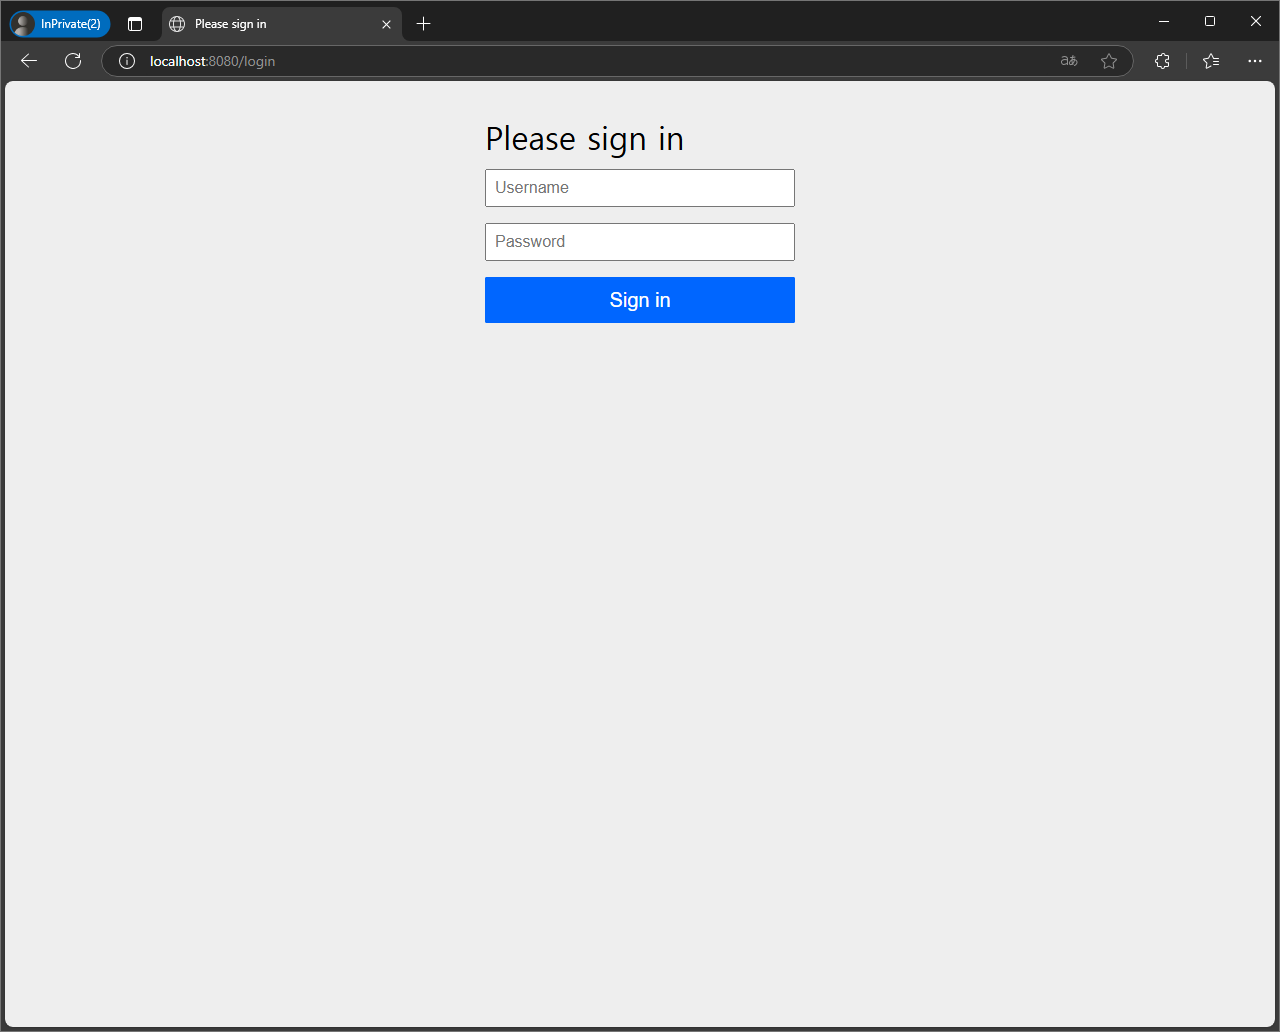
기본 로그인 관련 주소는 아래와 같다.
- http://localhost:8080/login
- http://localhost:8080/logout
login 페이지에 접속하여 위의 임시 패스워드와 같이 로그인하면 이후 요청에 대해서 서버가 정상적으로 응답한다.
| Username | Password |
|---|---|
| user | abde02ff-a737-47a0-8842-0b64a5341e54 |
Security Config
기본 상태로 쓰기에는 대략 난감하니 보통은 설정을 해서 사용한다.
1
2
3
4
5
6
7
8
9
10
11
12
13
14
15
16
@Configuration
@EnableWebSecurity
public class SecurityConfig {

    @Bean
    public SecurityFilterChain securityFilterChain(HttpSecurity http) throws Exception {
        http
            .authorizeHttpRequests(
                (authorize) -> authorize.anyRequest().authenticated() // 모든 요청은 인증 후에!
            )
            .httpBasic(Customizer.withDefaults())  // 웹으로 로그인 가능하게!
            .formLogin(Customizer.withDefaults()); // 폼 요청으로 로그인 가능하게!

        return http.build();
    }
}
이렇게 두면 이전과 똑같이 인증이 없으면 어떤 서비스에도 접근할 수 없다.
여기에서 이제 이렇게 저렇게 조정이 가능하다. 몇 가지가 더 있는데, 이해가 안돼서 나중에 확인해봐야 할 것 같다…
| .anyRequest() | 모든 요청에 대해 |
| .requestMatchers(“/resource/**”) | /resource/ 뒤의 모든 주소에 대해 |
| .requestMatchers(HttpMethod.GET) | GET 요청에 대해 |
| .permitAll() | 요청을 전부 허용한다. |
| .denyAll() | 요청을 전부 거부한다. |
| .authenticated() | 인증을 요구한다. |
| .hasAuthority(“USER”) | USER 권한을 요구한다. |
| .hasAnyAuthority(“USER”, “ADMIN”) | USER 또는 ADMIN 권한을 요구한다. |
| .hasRole(“USER”) | ROLE_USER 역할을 요구한다.(“ROLE_”: 접두사) |
| .hasAnyRole(“USER”, “ADMIN”) | ROLE_USER 또는 ROLE_ADMIN 역할을 요구한다. |
계정을 저장하는 방법에 따라 세 가지 방법을 소개한다.
- In Memory
- JDBC
- MongoDB
In Memory
참고로 실 서비스에서 대략 난감한 것은 이 또한 마찬가지다.
하지만 공식 문서에 맨 처음 예제로 나오니깐…
username과 pasword를 지정하여 프로젝트를 시작하는데, password는 Spring Boot CLI로 encode해서 넣으면 된다.
1
2
3
4
5
6
7
.\spring shell
Spring Boot (v3.4.3)
Hit TAB to complete. Type 'help' and hit RETURN for help, and 'exit' to quit.
$ encodepassword admin
{bcrypt}$2a$10$SGwhoaMZLrge4yyk36ho6ujFbD.7BGFB5BX9rjxBR5.ri1oUug0vK
$ encodepassword user
{bcrypt}$2a$10$Wmnh8tydfKn0XpRZIod0QuWt1uV60DhnMNfkuyvYBeENu/v.bVLr6
패스워드를 만들었다면 SecurityConfig.java 파일을 작성한다.
1
2
3
4
5
6
7
8
9
10
11
12
13
14
15
16
17
18
19
20
21
22
23
24
25
26
27
28
29
30
31
32
@Configuration
@EnableWebSecurity
public class SecurityConfig {

    @Bean
    public SecurityFilterChain securityFilterChain(HttpSecurity http) throws Exception {
        http
            .authorizeHttpRequests(
                (authorize) -> authorize.anyRequest().authenticated()
            )
            .httpBasic(Customizer.withDefaults())
            .formLogin(Customizer.withDefaults());

        return http.build();
    }

    @Bean
    public UserDetailsService userDetailsService() {
        UserDetails admin = User.builder()
            .username("admin")
            .password("{bcrypt}$2a$10$SGwhoaMZLrge4yyk36ho6ujFbD.7BGFB5BX9rjxBR5.ri1oUug0vK")
            .roles("ADMIN")
            .build();
        UserDetails user = User.builder()
            .username("user")
            .password("{bcrypt}$2a$10$Wmnh8tydfKn0XpRZIod0QuWt1uV60DhnMNfkuyvYBeENu/v.bVLr6")
            .roles("USER")
            .build();

        return new InMemoryUserDetailsManager(admin, user);
    }
}
이런 방식으로 username과 password를 직접 입력해줄 수 있다. 그리고 아까 로그인 페이지에서 로그인을 해 보면 정상적으로 로그인되는 것을 확인할 수 있다.
JDBC (보류)
나중에!
MongoDB
이번에 개인 프로젝트에서 MongoDB로 DBMS를 정해서 JDBC가 아닌 MongoDB로 계정 정보를 저장했다.
먼저 User Document를 만들어준다. UserDetails를 MongoDB에 맞게 새로 구현해주면 된다.
1
2
3
4
5
6
7
8
9
10
11
12
13
14
15
16
17
18
19
20
21
22
23
24
25
26
27
@Document(collection = "users")
public class User implements UserDetails {
    @Id
    private ObjectId _id;
    private String username;
    private String password;
    private Set<? extends GrantedAuthority> authorities;

    @Override
    public String getUsername() {
        return this.username;
    }
    @Override
    public String getPassword() {
        return this.password;
    }
    @Override
    public Set<? extends GrantedAuthority> getAuthorities() {
        return this.authorities;
    }

    public User(String username, String password) {
        this.username = username;
        this.password = password;
        this.authorities = new HashSet<>(Collections.singletonList(new SimpleGrantedAuthority("USER")));
    }
}
그리고 Repository를 작성한다.
1
2
3
4
5
6
@Repository
public interface UserRepository extends MongoRepository<User, ObjectId>{

    User findByUsername(String username);

}
MongoUserDetailService는 UserDetailsService를 다시 작성한다.
1
2
3
4
5
6
7
8
9
10
11
12
13
14
@Service
public class MongoUserDetailService implements UserDetailsService {

    private final UserRepository userRepository;

    @Override
    public User loadUserByUsername(String username) {
        return userRepository.findByUsername(username);
    }

    public MongoUserDetailService(UserRepository userRepository) {
        this.userRepository = userRepository;
    }
}
마지막으로 SecurityConfig에 MongoUserDetailService로 계정을 검색하는 mongoAuthentication을 작성하여 필터 체인에 연결했다.
1
2
3
4
5
6
7
8
9
10
11
12
13
14
15
16
17
18
19
20
21
22
23
24
25
26
27
28
29
30
31
32
33
34
@Configuration
@EnableWebSecurity
public class SecurityConfig {

    private final MongoUserDetailService userService;

    @Bean
    public SecurityFilterChain securityFilterChain(HttpSecurity http) throws Exception {
        http
            .authorizeHttpRequests(
                (authorize) -> authorize.anyRequest().authenticated()
            )
            .authenticationManager(mongoAuthenticationManager(http))
            .httpBasic(Customizer.withDefaults())
            .formLogin(Customizer.withDefaults());

        return http.build();
    }

    private AuthenticationManager mongoAuthenticationManager(HttpSecurity http) throws Exception {
        AuthenticationManagerBuilder authenticationManagerBuilder = http.getSharedObject(AuthenticationManagerBuilder.class);
        authenticationManagerBuilder.userDetailsService(userService).passwordEncoder(passwordEncoder());
        return authenticationManagerBuilder.build();
    }

    @Bean
    public PasswordEncoder passwordEncoder() {
		return PasswordEncoderFactories.createDelegatingPasswordEncoder();
	}

    public SecurityConfig(MongoUserDetailService userService) {
        this.userService = userService;
    }
}
참고
- Spring
- Spring Security
- Getting Spring Security
- Servlet Applications
- Getting Started
- Authentication
- Username/Password
- Password Storage
- Username/Password
- Authorization
- Spring Data MongoDB
- Repositories
- Spring Security