CouchDB 시작
환경
| OS | Debian 12 (bookworm) |
CouchDB
웹을 완벽하게 지원하는 데이터베이스라고 한다.
다수의 유저가 같은 문서를 편집하면서 서로의 편집 내용을 실시간으로 확인할 수 있는 종류의 작업에 사용하는 것으로 보인다.
지나가면서 문서의 일부를 보니 서버가 아닌 클라이언트에도 CouchDB를 설치해서 클라이언트 소프트웨어는 로컬 CouchDB에서 데이터를 가져오고, CouchDB의 서버와 클라이언트는 동기화를 진행하는 방식으로도 동작하는 것 같은데 흥미로운 접근이었다.
설치
저장소 등록
1
sudo apt update && sudo apt install -y curl apt-transport-https gnupg
1
2
3
4
curl https://couchdb.apache.org/repo/keys.asc | gpg --dearmor | sudo tee /usr/share/keyrings/couchdb-archive-keyring.gpg >/dev/null 2>&1
source /etc/os-release
echo "deb [signed-by=/usr/share/keyrings/couchdb-archive-keyring.gpg] https://apache.jfrog.io/artifactory/couchdb-deb/ ${VERSION_CODENAME} main" \
    | sudo tee /etc/apt/sources.list.d/couchdb.list >/dev/null
패키지 설치
1
sudo apt update && sudo apt install -y couchdb
Configuring couchdb
General type of CouchDB configuration
1
2
3
4
5
6
7
8
9
10
11
12
13
Configuring couchdb
-------------------

Please select the CouchDB server configuration type that best meets your needs.

For single-server configurations, select standalone mode. This will set up CouchDB to run as a single server.

For clustered configuration, select clustered mode. This will prompt for additional parameters required to configure CouchDB in a clustered configuration.

If you prefer to configure CouchDB yourself, select none. You will then need to edit /opt/couchdb/etc/vm.args and /opt/couchdb/etc/local.d/*.ini yourself. Be aware that this will bypass *all* configuration steps, including setup of a CouchDB admin user. You'll have to create one manually.

  1. standalone  2. clustered  3. none
General type of CouchDB configuration: 1
CouchDB Erlang magic cookie
1
2
3
4
5
6
7
8
Configuring couchdb
-------------------

A CouchDB node has an Erlang magic cookie value set at startup.

This value must match for all nodes in the cluster. If they do not match, attempts to connect the node to the cluster will be rejected.

CouchDB Erlang magic cookie: test
CouchDB interface bind address
1
2
3
4
5
6
7
8
9
10
Configuring couchdb
-------------------

A CouchDB node must bind to a specific network interface. This is done via IP address. Only a single address is supported at this time.

The special value '0.0.0.0' binds CouchDB to all network interfaces.

The default is 127.0.0.1 (loopback) for standalone nodes, and 0.0.0.0 (all interfaces) for clustered nodes. In clustered mode, it is not allowed to bind to 127.0.0.1.

CouchDB interface bind address: 0.0.0.0
Password for the CouchDB "admin" user
1
2
3
4
5
6
7
8
9
10
Configuring couchdb
-------------------

It is highly recommended that you create a CouchDB admin user, which takes CouchDB out of the insecure "admin party" mode. Entering a password here will take care of this step for you.

If this field is left blank, an admin user will not be created.

A pre-existing admin user will not be overwritten by this package.

Password for the CouchDB "admin" user:
Repeat password for the CouchDB "admin" user
1
2
3
4
Configuring couchdb
-------------------

Repeat password for the CouchDB "admin" user:
테스트 용도라 적당히 입력했다. Erlang magic cookie가 뭔지는 나중에 알아봐야 할 것 같다. CouchDB가 Erlang을 사용하고, 저게 같아야 클러스터링이 된다는 것 같은데…
Fauxton - 웹 기반 인터페이스
http://localhost:5984/_utils/에 접속하여 웹으로 관리할 수 있다.
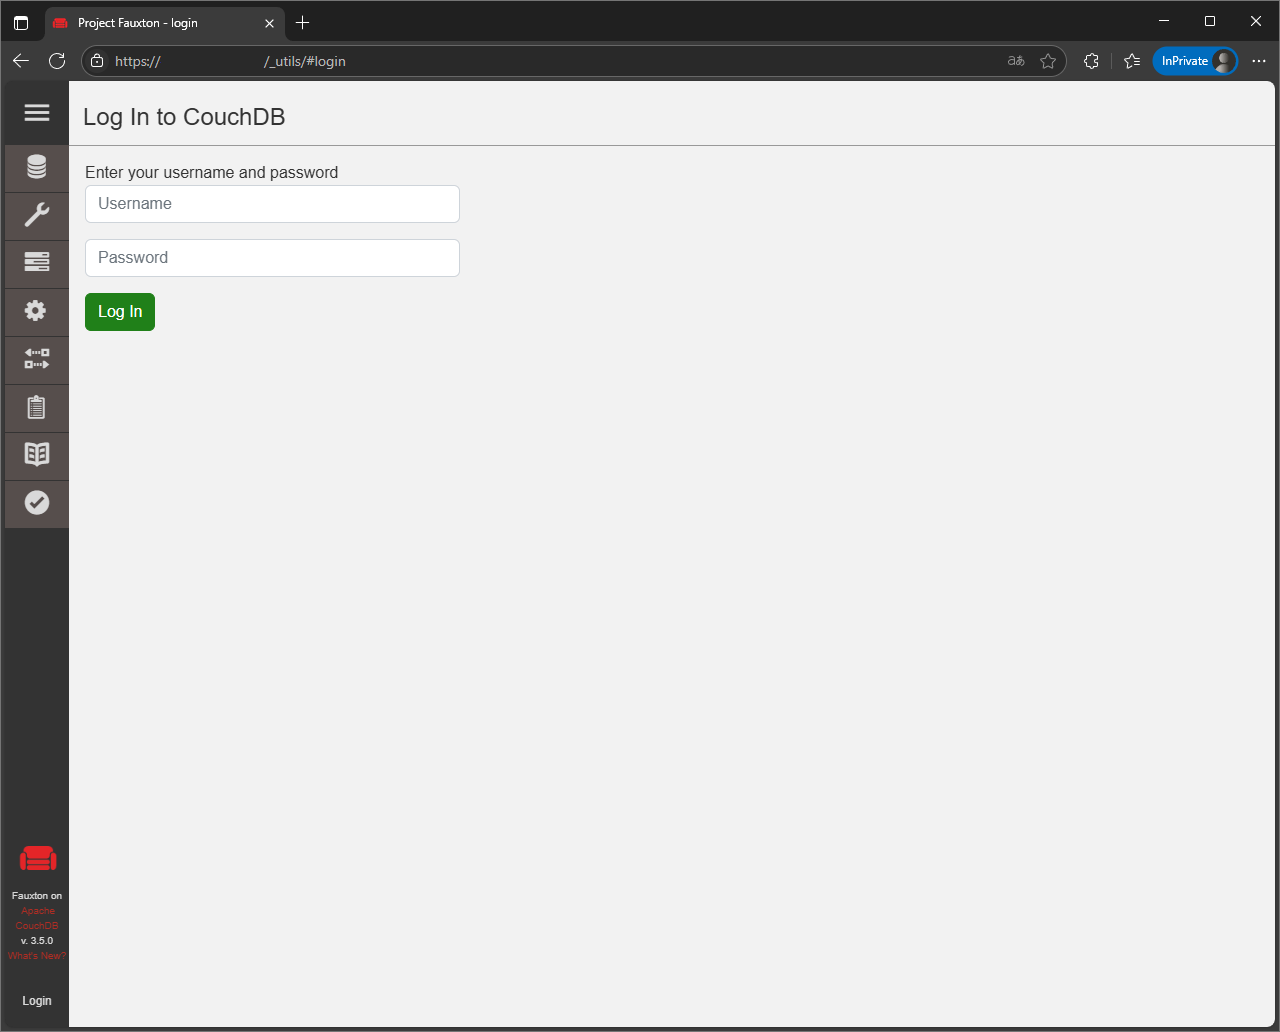
| Username | Password |
|---|---|
| admin | 설치 시 입력한 값 |
계정 생성
좌측 사이드바에서 데이터베이스를 선택한다.

_users 데이터베이스에 데이터를 추가하여 계정을 생성할 수 있다.
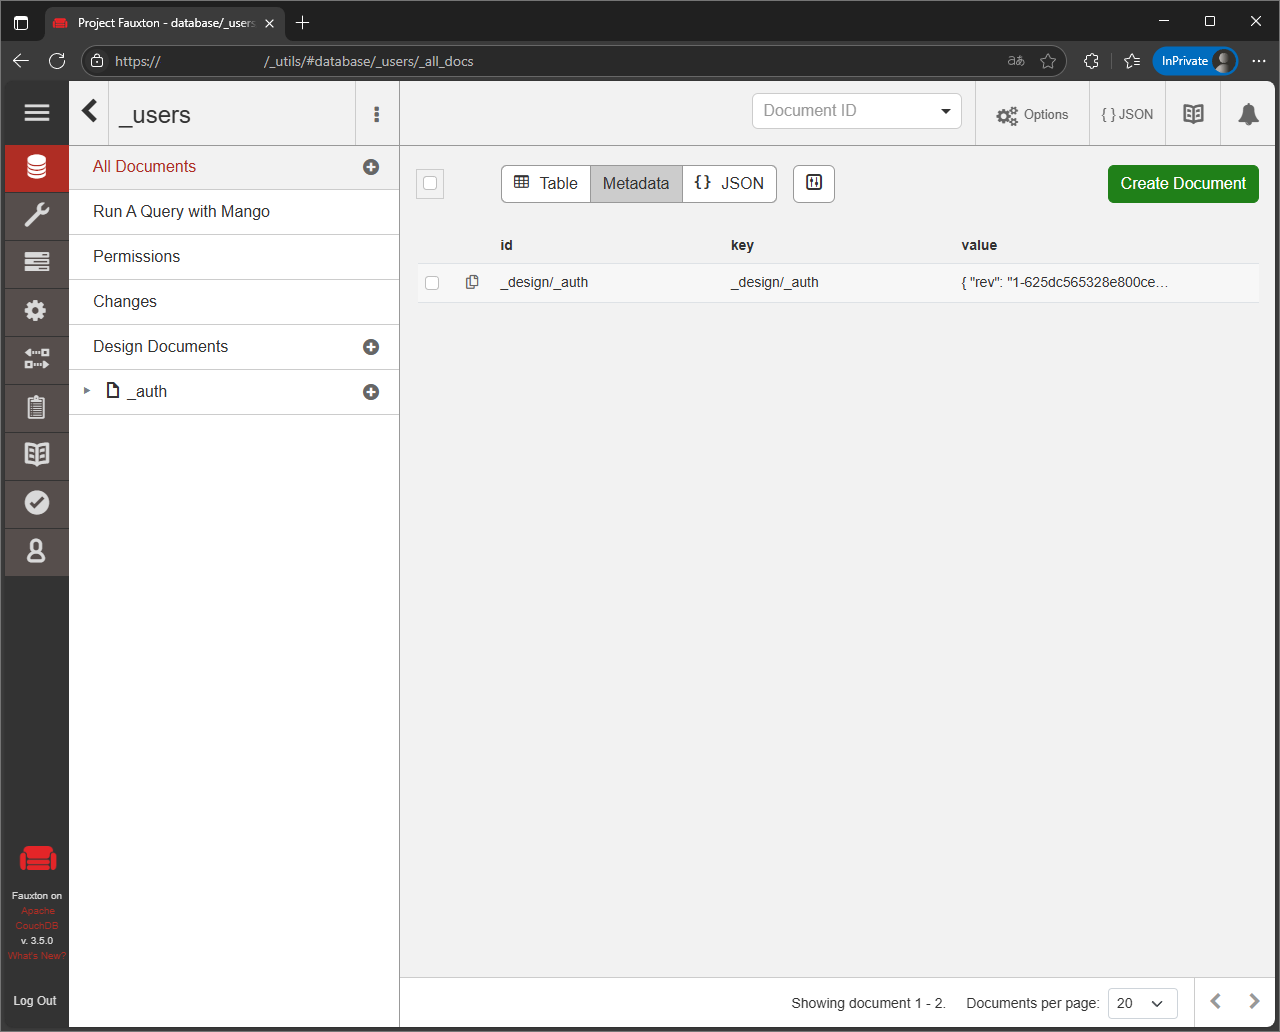
_users 데이터베이스를 선택하고 Create Document를 선택한 후에 아래 형식으로 json 데이터를 입력한다.
패스워드는 평문으로 입력해도 암호화된 상태로 저장된다.
1
2
3
4
5
6
7
{
  "_id": "org.couchdb.user:jan",
  "name": "jan",
  "password": "apple"
  "roles": [],
  "type": "user",
}
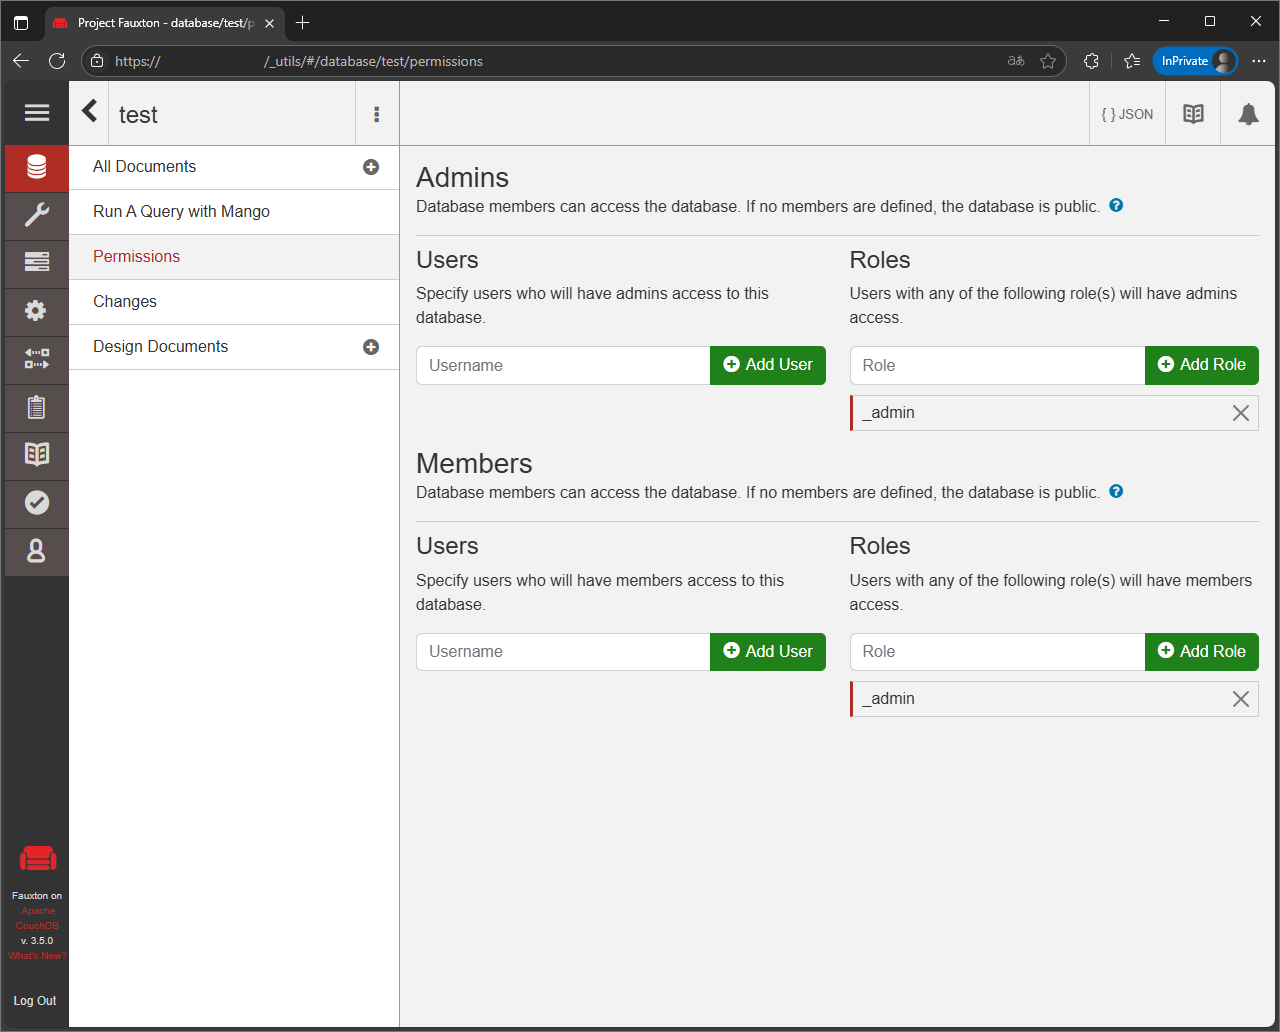
데이터베이스 생성
우상단에 Create Database를 선택하여 데이터베이스를 생성할 수 있다. 원하는 이름을 작성하고 Create를 선택하면 된다.

Permissions에서 데이터베이스의 권한을 관리할 수 있다. Admins, Members에 각각 생성한 계정 이름을 작성하면 된다.
API
재미있게도 공식 문서에서 API 명세서와 같은 것을 제공한다.
데이터베이스 생성이나 기타 등등 다양한 상호작용을 API 명세서를 보고 RESTful 하게 요청하고 응답 받을 수 있다.
Fauxton도 이 명세서에 따라서 CouchDB를 조작하지 않을까? 주로 쓰는 요청은 나중에 시간 되면 정리해야겠다.
계정 생성
1
2
3
4
curl -X PUT http://admin:password@localhost:5984/_users/org.couchdb.user:jan \
     -H "Accept: application/json" \
     -H "Content-Type: application/json" \
     -d '{"name": "jan", "password": "apple", "roles": [], "type": "user"}'
번외
Reverse Proxy - Nginx
- /etc/nginx/sites-available/couchdb
1
2
3
4
5
6
7
8
9
10
11
12
13
14
15
16
server {
    listen 80;
    server_name couchdb.example.com;

    # 대용량 파일 업로드 불가 시
    # client_max_body_size 100M;

    location / {
        proxy_pass http://localhost:5984;
        proxy_redirect off;
        proxy_buffering off;

        proxy_set_header Host $host;
        proxy_set_header X-Forwarded-For $proxy_add_x_forwarded_for;
    }
}
80번 포트 그대로 서비스 한다면 네트워크에 평문 데이터를 던지는 위험천만한 상황을 연출할 수 있으므로 최소한 Let’s Encrypt 등으로 TLS 암호화를 적용해야 한다.
데이터베이스 파일 위치 변경
원본 파일을 복제한다.
1
sudo rsync -avh /var/lib/couchdb/ /mnt/hdd/couchdb/
설정 변경
- /opt/couchdb/etc/local.ini
1
2
3
[couchdb]
database_dir = /mnt/hdd/couchdb
view_index_dir = /mnt/hdd/couchdb
링크 변경
기본 설정에서는 /opt/couchdb/data 경로가 데이터베이스 파일의 경로이다. 하지만 찾아보면 이것도 결국 링크다. 따라서 해당 파일의 링크 경로만 변경해주면 원하는 결과를 얻을 수 있다.
1
2
sudo rm /opt/couchdb/data
sudo ln -s /mnt/hdd/couchdb /opt/couchdb/data
Log
아래 명령어로 로그 파일의 용량을 확인할 수 있다.
1
sudo ls -lh /var/log/couchdb/couchdb.log
결과
1
-rw-r--r-- 1 couchdb couchdb 507K Jun 18 14:57 /var/log/couchdb/couchdb.log
파일을 확인하면 일반적인 요청에 대해서 notice 레벨의 로그가 쌓인다. 만약 실시간으로 많은 요청과 응답이 발생하는 경우에 이 로그 파일이 끝을 모르고 쌓이는 광경을 볼 수 있을 것이다.
(잠깐 테스트 했다고 507K라고 적힌 저 상태를 보라…)
아래처럼 설정을 추가하여 notice 레벨의 로그를 무시하거나
- /opt/couchdb/etc/local.ini
1
2
[log]
level = warning
loglotate를 사용하여 관리해주는 것이 좋다.
참고
- Apache CouchDB Documentation
- User Guides
- 1. Introduction
- 1.5. Security
- 1.5.2. Authentication Database
- 1.5. Security
- 4. Best Practices
- 4.7. Reverse Proxies
- 4.7.2. Reverse Proxying with nginx
- 4.7. Reverse Proxies
- 1. Introduction
- Administration Guides
- 1. Installation
- 1.1. Installation on Unix-like systems
- 3. Configuration
- 3.2. Base Configuration
- 3.2.1. Base CouchDB Options
- [couchdb]
- 3.2.1. Base CouchDB Options
- 3.13. Logging
- 3.13.1. Logging option
- [log]
- 3.13.1. Logging option
- 3.2. Base Configuration
- 1. Installation
- Reference Guides
- User Guides